Guest uploads
Choose upload types
Choose whether Gathmo guests can upload photos, videos, voice messages, or a smaller media set, then test the guest flow.

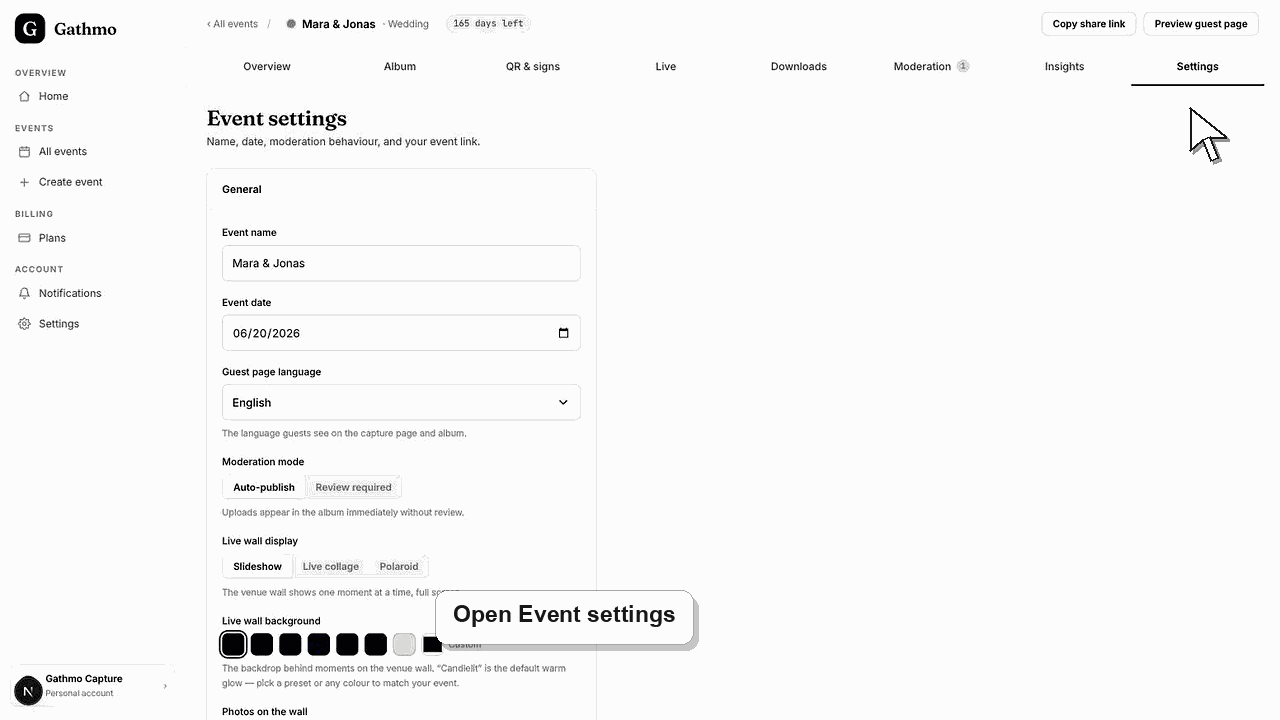
Choose upload types before you share the QR code. Photos are always available, and you can decide whether guests should also upload videos and voice messages.
Before you start
- Create the event first.
- Decide whether the event needs photos only, photos and videos, voice messages, or all upload types.
- Use a test phone, because the guest page is what matters.
- Open the correct Gathmo event, workspace, or account before making changes.
Steps
1. Open the event settings
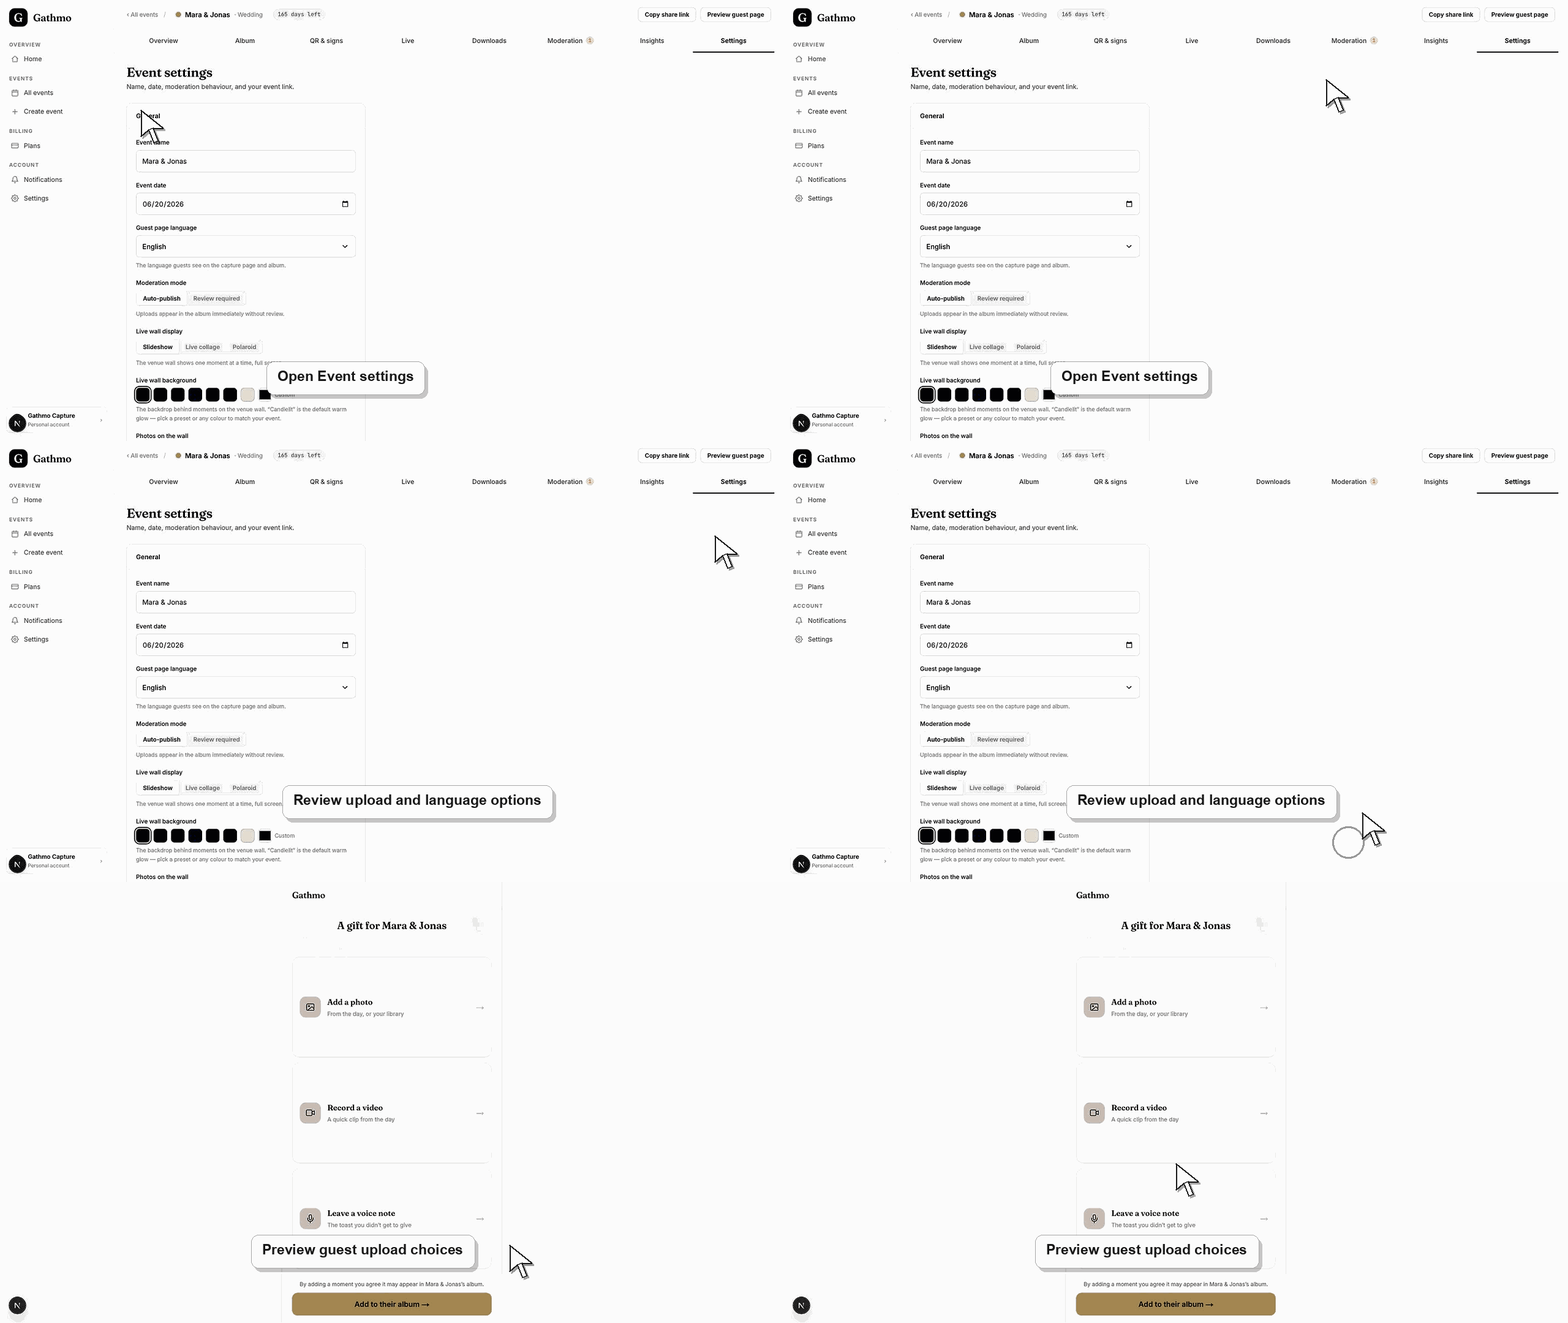
Go to the event dashboard and open the settings or upload controls for the event. This is where Gathmo controls what the guest capture page allows.
2. Choose the media types guests should see
Keep the setup simple for guests. Use photos only when the event needs a fast collection flow. Add videos when movement matters, such as speeches, dancing, or product demos. Add voice messages when guests should leave a personal note. Photos are the baseline upload type. Video and voice can be switched on or off for the event.
3. Check the plan and event caps
Upload type settings do not remove plan limits. A plan can still cap item count, video length, voice length, storage, or download features. If the event relies on longer videos, voice messages, or original-quality exports, verify the selected plan before printing the QR code.
4. Save and test the guest page
Save the event settings, then scan the QR code on a phone. Confirm that the guest page shows exactly the upload options you want guests to use. Upload one test file for each enabled type.
Submit one test upload
Before the event, scan the QR code as a guest and submit a small sample file. This confirms permissions, network behavior, and the guest-facing instructions in the same flow guests will use.
What to do next
- Guests will only see the upload types that are enabled for the event. Existing uploads are not converted or removed when you change the allowed upload types later.
- Run one guest upload from an iPhone and one from Android if the event team has both available before the event.
- Review the uploaded test item in the dashboard so you know where the file appears and whether moderation is active.
- Add a short printed instruction near the QR code explaining the exact upload type guests should use.
Frequently asked questions
Can I change upload types after creating an event?
Yes. You can change upload type settings after creating the event. Test the guest page again after any change.
Should I enable every upload type?
Use every upload type when the event needs a rich album. Use fewer upload types when guests need a very fast flow or when the event has stricter moderation needs.
Do guests need an account for different upload types?
No. Guests use the QR code and browser-based guest page.
Troubleshooting
Reopen the event settings and confirm that the upload type is enabled. Then refresh the guest page on a phone.
Check whether video uploads are enabled, whether the file is within the allowed type and size limits, and whether the video length fits the event plan.
Reload the guest page or scan the QR code again. If the phone kept an old browser tab open, close it and open the QR code again.
Check the event upload settings in the dashboard, confirm the upload type is enabled, and reload the guest page. If the guest is using an old link, send the current event link again.
The selected upload types should match the wording guests see before they upload. If voice or video is enabled, the guest-facing consent and instruction copy should mention it clearly. Plan limits and guest-facing legal copy should match the live event settings before guests upload.
Keep going