White-label and business
Download a branded QR sign for a client event
Use the Gathmo sign designer to build a branded QR sign for a client event, add a logo or photo, choose a size, and export a 300 dpi PNG or print-ready PDF.

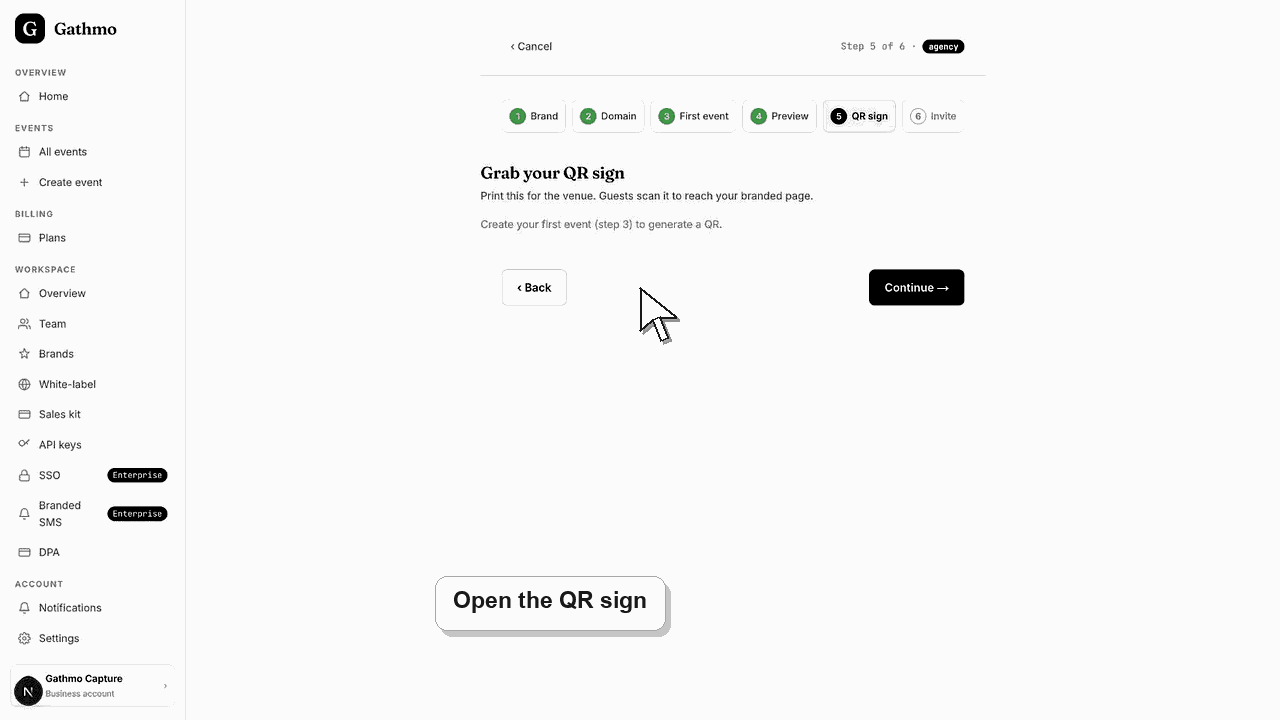
For any client event, open the QR & signs tab and build a print-ready sign. The quick sign studio offers four templates, editable text, accent colours, and paper tone, exporting a 300 dpi PNG or print-ready PDF. For full control — your own logo or photo, custom fonts, and free positioning — open the sign designer.
Sizes and exports
| Option | Typical use |
|---|---|
| A6 card · 105×148 mm | Table cards and place settings |
| 5×7 in card · 127×178 mm | Guest desks and welcome tables |
| A5 · 148×210 mm | Bar signs and counters |
| A4 poster · 210×297 mm | Entrances and larger displays |
| PDF export | Print-ready file for a printer |
| PNG · 300 dpi | High-resolution image for design tools |
Before you start
- Open the specific client event you are making the sign for.
- Have the client's logo or a cover photo ready if you want to add one.
- Confirm the guest link is correct so the sign's QR points to the right event.
- Open the correct Gathmo event, workspace, or account before making changes.
Steps
1. Open the QR & signs tab for the event
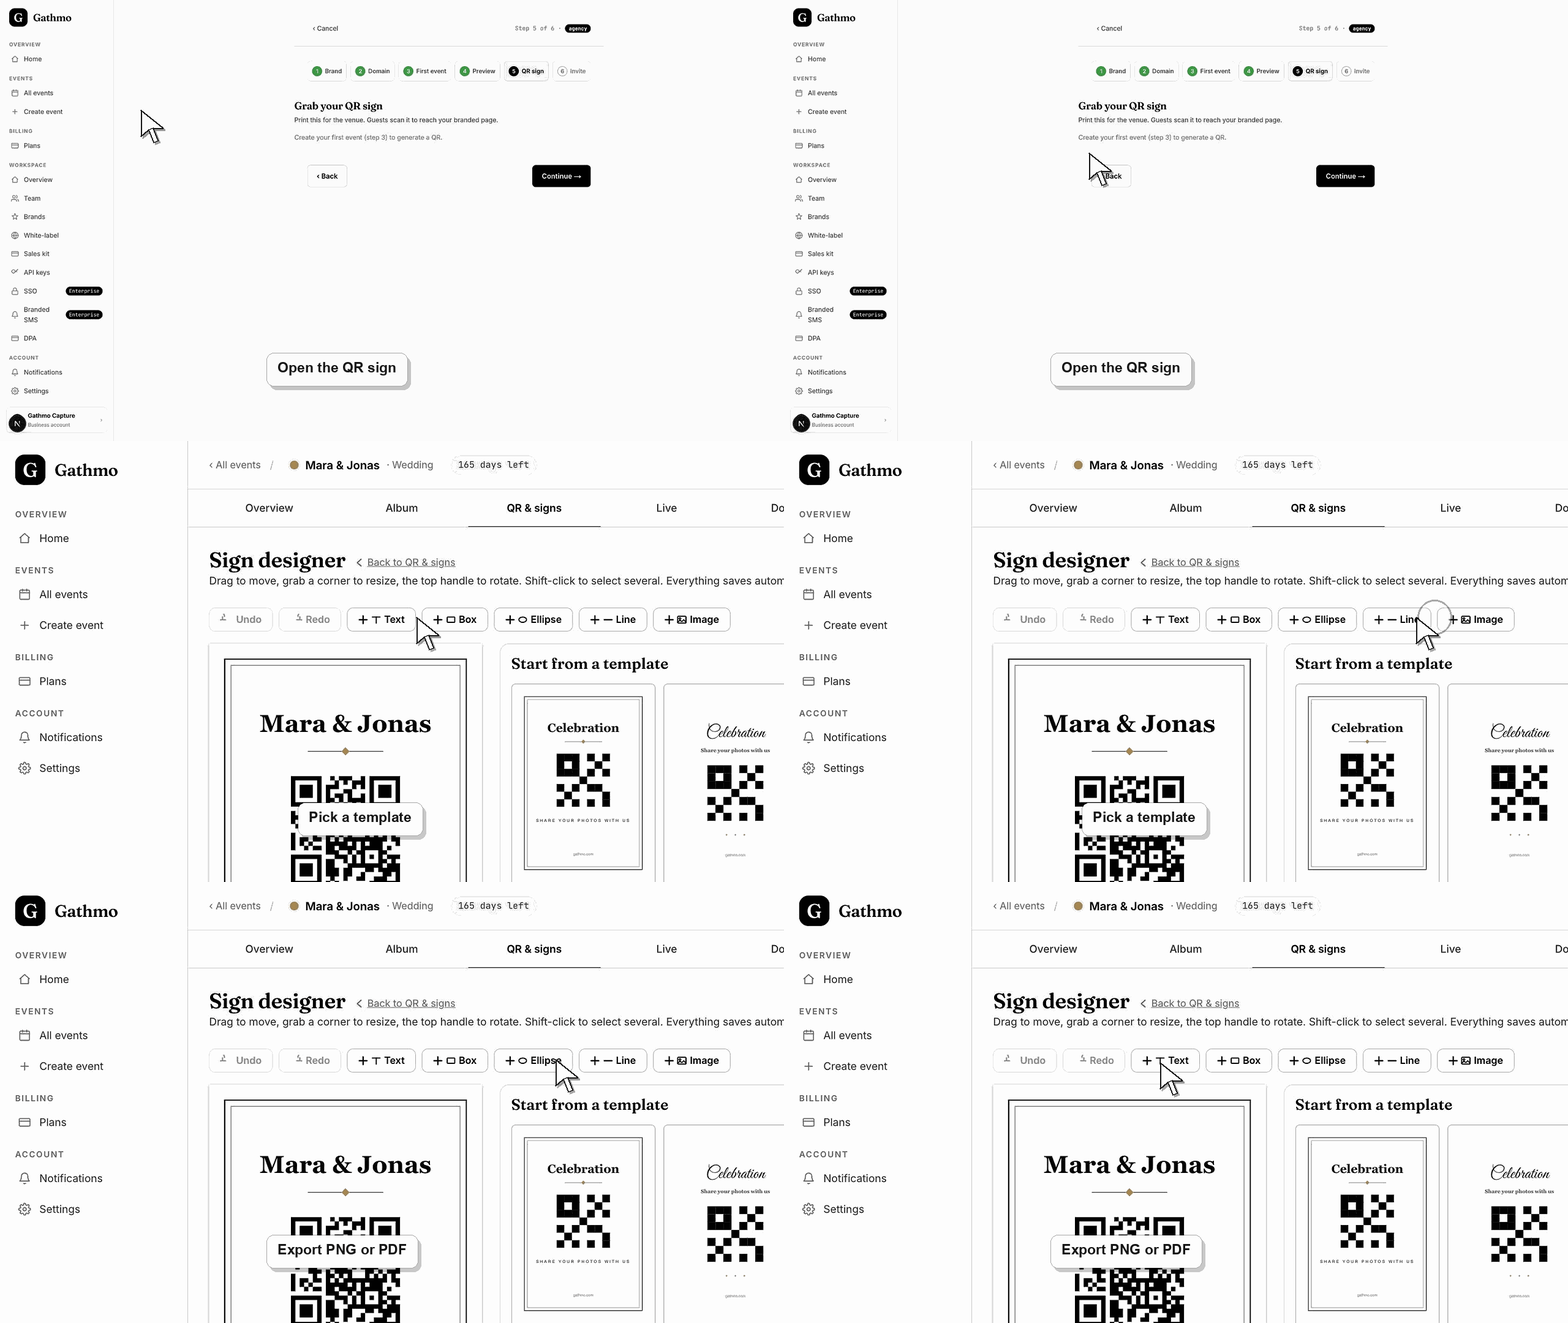
In your Gathmo dashboard, open the client event and select the QR & signs tab. Below the QR code and downloads, the Print-ready signs section holds the sign studio, and a link opens the full designer for deeper control.
2. Choose a template and wording
Pick one of the four templates — Classic Serif, Script, Modern Minimal, or Festive. Edit the headline, subline, and footer to match the client's event. The headline and footer are pre-filled with the event name and short link, so adjust them to taste.
3. Set the accent and paper tone
Choose an accent colour to match the client's brand, using a swatch or a custom colour, and pick White or Cream paper. The live preview updates as you go, so you can align the sign with the client's palette before exporting.
4. Open the sign designer for full branding
For a fully branded sign, select Open the sign designer. There you drag, resize, and rotate elements, set your own fonts and colours, and add the client's logo or a photo as the background. The designer auto-saves so your layout survives reloads.
5. Pick a size
Choose the output size — an A6 card for tables, a 5×7 inch card, A5, or an A4 poster for entrances. Match the size to where the sign will sit so the QR is large enough for guests to scan comfortably.
6. Export a PNG or PDF
Select Download PDF for a print-ready file, or PNG · 300 dpi for a high-resolution image. Send it to the client or straight to print. The sign's QR opens the event's guest capture page, branded to your workspace.
What to do next
- The exported sign carries the QR that opens the client's guest page, which renders under your white-label brand. Print it, place it, and guests scan to add photos, videos, and voice messages during the event.
- Preview the client-facing page after every brand, domain, workspace, or role change so the public experience matches the business setup.
- Document which team member owns the brand, domain, client workspace, and billing relationship before client events go live.
- Use the business billing and privacy articles when white-label work affects prepaid access, DPA expectations, or client data handling.
Frequently asked questions
Does the sign use the client's branding or Gathmo's?
The sign uses the event name, your chosen accent, and any logo or photo you add in the designer. The QR opens the guest page, which is rendered under your white-label brand, so Gathmo's own identity is not shown to guests.
What is the difference between the sign studio and the designer?
The sign studio is a quick path with four templates, editable text, accent, and paper tone. The designer gives full control — custom fonts, free positioning, and your own logo or photo background — for a fully bespoke, branded sign.
Which export format should I send to a printer?
Use the PDF for print — it is print-ready. The 300 dpi PNG is a high-resolution image that works well when you want to place the sign inside another design tool before printing.
Troubleshooting
The sign needs the QR to finish generating first. Wait for the preview to render, then the Download PDF and PNG buttons become active. If it stalls, reload the tab and try the export again.
Upload a high-resolution logo — an SVG or a large PNG — in the designer, and export at 300 dpi or as a PDF. Low-resolution source images look soft when scaled up to poster size.
You built the sign in the wrong event. Each sign's QR is tied to the event you opened it from. Open the correct client event, rebuild or re-export the sign, and test-scan before printing.
Check that you changed the correct workspace or client brand, refresh the preview, and verify whether a custom domain or cache is showing an older public version.
The sign only carries the QR to the event's guest page; it holds no guest data. White-label branding applies to the guest page the QR opens, so the whole guest journey — sign to capture page — stays under your brand on a business plan.
Keep going